Getting started with Speechly
Learn how to create a Speechly application and transcribe both live streaming and pre-recorded audio. This guide is tailored for those starting out with Speechly.
Quick introduction
Speechly is a voice technology that offers Automatic Speech Recognition (ASR) and Natural Language Understanding (NLU) tools and APIs. We've built it from the ground up and here's some feature we'll think you'll like:
- ⚡️ Transcribe pre-recorded or live streaming audio
- 🏁 Support for 99 languages
- 🚀 Deploy on-device, on-premise or in the cloud
- 📈 Obtain extreme accuracy with domain specific model training
- 💻 Easily integrate Speechly into your product using our SDKs and APIs
- 🔮 Powerful NLU features like intent and entity detection
- 😎 Manage your projects, applications and users with Speechly Dashboard and Speechly CLI
Create a Speechly account
Before you can use Speechly products, you need to create a Speechly account.
Signing up is free and includes:
- 50h of API quota for personal and non-commercial use
- All the latest models
- Cloud deployment
- Batch and Streaming transcription
- NLU features
Create a Speechly application
Once you have your account set up, you need to create a Speechly application.
Each application in Speechly hosts its own training data and settings. Your project can contain as many applications as you like. You can create an application using Speechly Dashboard or Speechly CLI.
- Speechly Dashboard
- Speechly CLI
- Open Create a new application
- Give your application a Name
- Press Create application
To access your project from Speechly CLI, you need to create a Speechly API token by going to Project settings → API tokens. Make sure to copy and store the token, you'll need it soon.
Install Speechly CLI:
# Using Homebrew
brew tap speechly/tap
brew install speechly

# Using Scoop
scoop bucket add speechly https://github.com/speechly/scoop-bucket
scoop install speechly
Add your project:
speechly projects add --apikey YOUR_API_TOKEN
Create a new application:
mkdir my-app
cd my-app
speechly create "My first app"
Copy the App ID, you'll need it shortly.
Transcribe live streaming audio
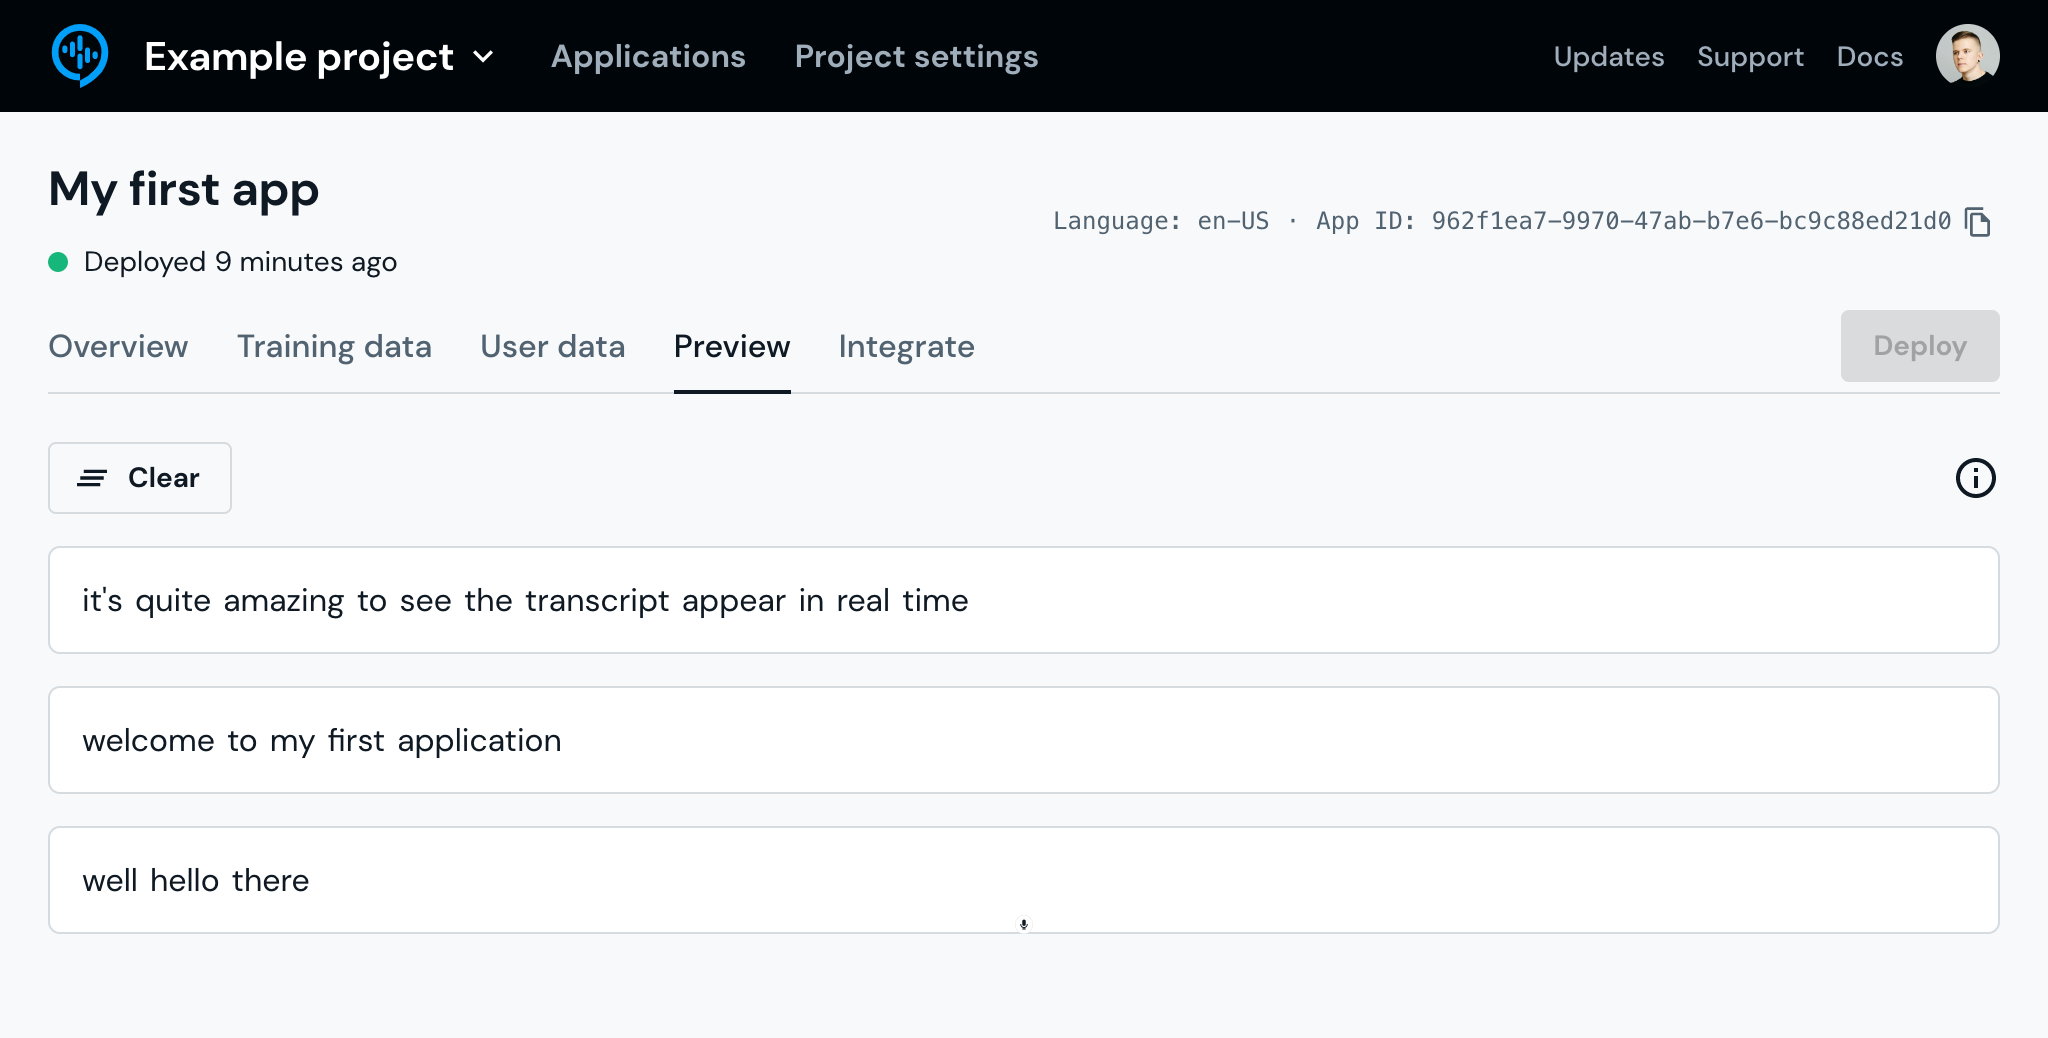
Streaming transcription works in real-time and is perfect for working with live streaming audio, for example when capturing audio from the device microphone. To demonstrate this, we'll be using Speechly Dashboard.
Open Preview
- Open Speechly Dashboard
- Open your Application
- Go to the Preview tab
Start talking
Once there, press the microphone button, give the site access to your microphone, and start talking. Notice how the transcript appears in real-time!
Analyze the response
Open the browser developer console to see the JSON response that's emitted for each speech segment:
{
  "id": 0,
  "contextId": "9af98c09-c974-4393-9368-0c64a6c3e583",
  "isFinal": true,
  "words": [
    {
      "value": "welcome",
      "index": 2
    },
    {
      "value": "to",
      "index": 3
    },
    {
      "value": "my",
      "index": 4
    },
    {
      "value": "first",
      "index": 5
    },
    {
      "value": "application",
      "index": 6
    }
  ],
  "entities": [],
  "intent": {
    "intent": "",
    "isFinal": true
  }
}
What’s next?
Now that you have received your first streaming transcript using Speechly, check out Speechly On-device. It's an excellent way of transcribing live streaming audio in real-time, accurately and cost-effectively right on the users’ device.
Transcribe pre-recorded audio
Batch transcription works asynchronously and is perfect for working with pre-recorded audio. To demonstrate this, we'll be using the transcribe command. If you used Speechly Dashboard in the previous steps, now is a good time to install and set up Speechly CLI.
Choose an audio file
Use an existing audio file, record your own or use our sample audio file. See Supported audio formats for more information.
The transcribe command also supports transcribing multiple files. Create a JSON Lines file with each audio on their own line using the format: {"audio": "path/to/file.wav"}. Then simply pass the JSON Lines file as the input file!
Upload audio
Open your terminal, navigate to the location where your audio file is and run:
speechly transcribe path/to/file.wav -a YOUR-APP-ID
You can use the same App ID as in the previous example.
See results
Your transcript will appear in the terminal once it's ready.
hi i'm neil degrasse tyson astrophysicist in addition to probing the
secrets of the universe also a movie buff today i introduce you to a
film that everyone thought was lost forever until a print was recently
discovered in a hollywood vault future thirty eight forgotten treasure
from nineteen thirty eight it's one of the first color pictures preceding
gone with the wind and the wizard of oz by a year but what interest me
most is the science finally a movie that gets time travel right
What’s next?
Now that you have received your first batch transcript using Speechly, check out Speechly On-premise. It's an excellent way of transcribing large quantities of pre-recorded audio accurately and asynchronously in a customized installation.